
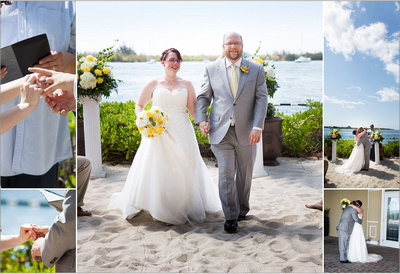
Extra Love: Retouching for Albums and Prints

As I sit here working on the retouching for one of my latest albums, I thought it would be a good opportunity to show some examples of what goes into this "behind the scenes" step of the process. I often get the question "What is the difference between editing and retouching?"
Basic editing, which all images receive before you view them, is a faster, strictly objective process.
Full retouching occurs once the final selections have been made for the album, or for prints that will go on the wall. This level of work is much more time-consuming and extremely detail-oriented, which is why we reserve it for these images only.
 
|
|

|
BASIC EDITING (all images) |
FUL SERVICE RETOUCHING (album/prints) |
|
|
Mouse over images to see "Before and After" **
**(viewing this page from mobile device? Mouseover will not work, but we've included some handy animated GIF's, ordered in special from Windows '95. Ha!
SCROLL TO BOTTOM OF BLOG POST TO SEE MOBILE-FRIENDLY BEFORE AND AFTER IMAGES.
This image was originally taken with the idea of cropping it to a square, so I wasn't so much concerned about the items on the left and right edges. When it came time to do the design, however, the square format just wasn't cutting it, so we decided to use the full horizontal. That meant working some retouching magic to tidy up the room. And if I do say so myself, that left end-table is looking pretty darn good. Do you realize how many layers and out-of-box ideas that takes to pull that off?
While I would have much rather had the time to tidy the room beforehand, I will say that Photoshop challenges like this are really good for me. I've been studying, using, and teaching Photoshop for about 15 years now, and enjoy stretching the creative and problem-solving muscles it takes to cleanly edit an image like this. I'm always learning, of course, but projects like this put me into a bizarre zen-like trance. I get completely absorbed, and obsess over ever little pixel. In a world of constant interruptions, it feels good to get work steadily on one thing for 45 minutes.
These two (above and below) are those candid type of "in the moment" images, that a photographer has to grab unscripted, without much direction or interaction with the subject.
Can you imagine how annoying it would have been for me to go "I know you're about to have this really iconic moment on your wedding day of putting on your dress, but can you - half naked - kick your shirt to the side instead of it being at your feet? Oh and you there...yes...can you reach down - while you have a dress over your head - and move the envelope and iPhone charger sitting on the couch behind you? Oh and everyone, tidy your buns, smooth over your hair. Yes perfect...now you may continue".
Um...no...take the dang picture and move on.
This image was requested by a bride looking for a little "slimming action", and we were happy to help her enjoy her ideal vision of herself. :)
This image was taken from an upper-floor balcony. I asked the bride to turn and look up at me.
It resulted in a sweet image, but ideally, given my vantage point, I should have turned her left shoulder forward just a bit to avoid it widening the amount of horizontal space her body takes up in the frame.
I realized it instantly, but like many times during a busy wedding day, we had places to be.
Anytime we can take 30 seconds to interrupt a moment and fix something distracting, we will do that.
But rest assured that your album and wall portraits will never suffer as a result of a wayward plastic bag, an unruly piece of hair, or a clumsy guest who steps on or stains your dress.
Article by Karrie Porter
Mobile-Friendly Before and After Photos of Album Retouching
Viewing this page from a Smart Phone or Tablet? Sorry...mouseovers don't work for you. But here are some handy animations to show you the "before and afters" discussed above:


